
You need :
The Button
A needle
Thread
Something to cut the thread with.


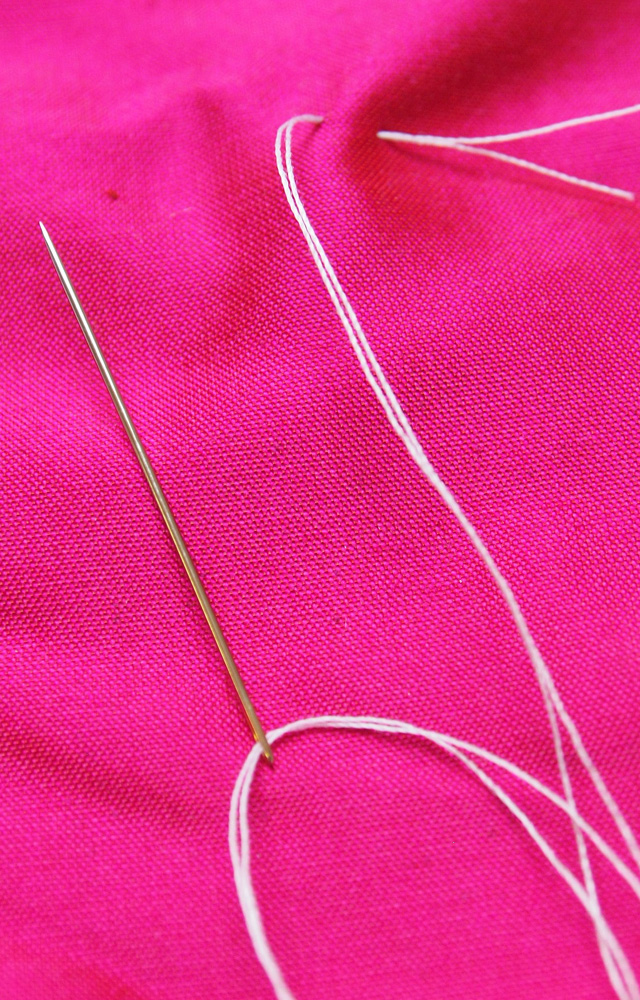
Thread you needle with the thread doubled so it is stronger for button sewing.

Don't tie a knot at the end of the thread, just do a stitch, then stitch back over that stitch, and then loop through on the third stitch to tie a knot. This is a stronger base.


Thread on the button and stitch through the second hole into the base stitch you just did. Keep stitching round and round through the button holes four or five times.

On the last stitch don't go through the fabric. Instead wrap the thread around and around the base of the button underneath to make it stand away from the fabric. This is good for fastening buttons so the fabric sits nicely underneath the button.

Stitch through to the back of the fabric, loop and knot and then trim.

This is how the front and back of the fabric will look with the button is sewn. And there you have sewn your first button.
I am hoping to fill a year of tutorials, most will be more complex than this and I would love to hear suggestions. Enjoy stitching! xxx
No comments:
Post a Comment